Once your sensors are active in your account, you are able to set up triggers/alerts or to edit the existing triggers. You can also choose to set up a trigger to alert you when a sensor goes offline. You are also able to select some triggers as “Critical” and can have a separate notification preference for those Triggers.
We have also included a few pre-built triggers with default placements for you, these pre-built triggers will contain the recommended baseline that should set off alerts and notifications. You're able to enable these triggers after configuring them, as well as add on more triggers as necessary.
Here are two examples of what the triggers will look like as Email & Push Notifications
Setting up triggers/alerts for Sensors
-
Click on 'Sensors' from your Web-App Side Dashboard
- Then select the Triggers tab beneath Sensors
- From this window, you can enter specific criteria you would like to set off the triggers in the corresponding fields. If you would like to add more criteria, click on blue plus sign. When you're ready, click Save.
Currently, we have the option of selecting the following Trigger Criteria
Temperature - Here you'll be able to select a specific Temperature or a range of Temperatures to monitor including, Is, Is Not, Greater Than, Greater Than or Equal, Less Than, Less Than or Equal, In Between, Not Between. You can select multiple of these criteria in the same trigger by using the blue + icon
Sensor Name - We have the option of using 'Contains' or 'Does Not Contain' This way we can pull a report of all sensors of a specific name
Placement - This will include your company-specific placements
Date
Sensor Status - This will check for all offline sensors
Gateway Status - This will check for all offline Gateways
Sensor Battery Level - Low Battery level is 5% and below
It should ALWAYS contain the sensor name and temperatures to set off the trigger.
- From the next window, you can name the trigger, select if this trigger should be considered Critical, select the Active Schedule (what hours the triggers should be set to go off) as well as, a Threshold (how long the temperature has to stay about the threshold for that set amount of time).
- If you would like to create a task once the triggers goes off click 'Task' and choose what task you would like to generate, who to assign it to, and when it's due by as well any other details or instructions you would like to be sent.
- If you would like to add an Alert click 'Alerts'.
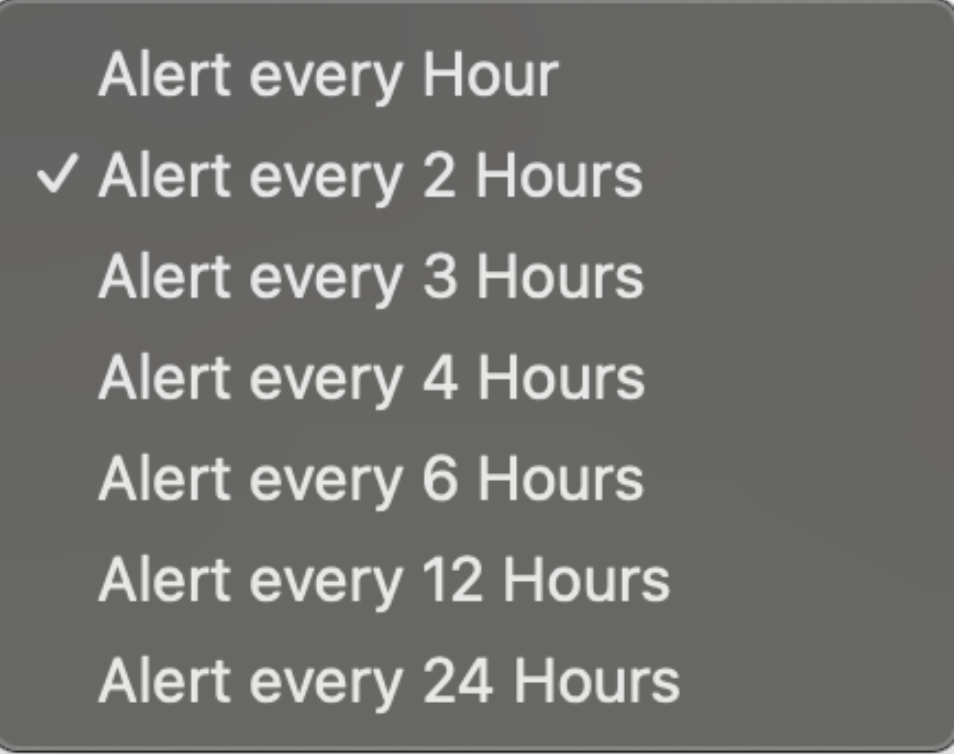
Select the frequency you want the alert to go off and who should be alerted.
- Once you have filled out the Trigger criteria, make sure to click 'Done' to save your trigger.
- Here is what a CRITICAL priority trigger/alert looks like once it has been saved.
Setting up Offline Sensor trigger
- Select "Sensors" from the left of the list menu.
- Click on "Create Trigger" on the top right side of the screen.
- Click on the Filter section, make sure to filter by which "Sensor Name" and another filter for "Status" and is Offline will appear.
- Once you've entered the desired criteria to trigger an alert, click "Save".
- Here you can save what you would like the trigger to be named, the active schedule (how often), the threshold (how soon after it is offline do you want to be notified), and what action you want to assign either a task, alert, or both.
- Once you've entered all the information remember to click "Done" and you're all set.
Configure/edit an existing trigger:
- Click 'Sensors' and then click 'Triggers' to pull up the list of triggers from which you would like to edit.
- Choose the Report you want to edit.
*Note: If you click on the drop-down arrow, this will ask if you want to delete the trigger.
- Once you have chosen the report you want to edit, click 'Edit'.
- Edit the criteria you want to change and once you have made the changes click 'Save'.
(i.e. In this example we want to adjust the temperature that sets off the alerts when it is less than 45 degree Fahrenheit.)
- Once saved, you will receive a green Success Report Saved message.
Comments
0 comments
Please sign in to leave a comment.